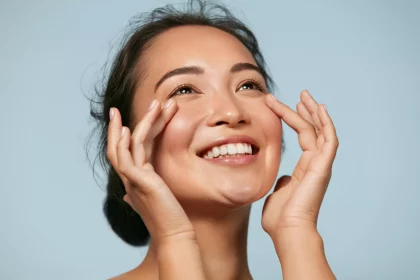
A DIY lash lift kit is an effective solution to help women have long and curled eyelashes as well as larger, rounder, and attractive eyes. While lash lift can work wonders, it’s crucial to follow the correct order, technique, and operation to avoid any adverse effects that could lead to lash fallout.
So how can you utilise the lash lift set? What is the best way to safely use the lash lift at home? In our exclusive guide, we’ll walk you through the step-by-step process of achieving the perfect curl with the JustServ lash lift kit. Learn the intricacies of this technique and discover the lash lift set to enhance your lashes safely and effectively.
Let’s dive into it!
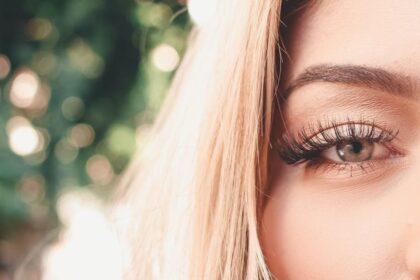
What is a lash lift kit?
A lash lift kit is the perfect solution to treat your straight and vague eyelashes.
This eyelash curler kit has a full kit of tools, which will make curling our own eyelashes at home easier. In general, the kit includes 7 items, specifically as follows: a specialised eyelash cleaning tool, lift pads, false lash glue, perm, fixation, nutrition, and cleanser. The lift pads will come in many sizes, suitable for many different eye shapes.
Furthermore, after curling your eyelashes yourself with this lash lift kit, the time to keep the eyelash curl will be calculated in weeks, even months, so you will have attractive curled eyelashes without having to curl eyelashes or apply mascara every day like the old days.
If you already own this convenient eyelash curling kit, let’s continue watching the next part to see how to use it.
How to use the lash lift kit easily at home
To start performing each step in using this lash lift kit, we need to fully prepare the following tools:
- Lash lift kit

Lash lift kit
- Clean cotton swab
- Food wrap
To use the lash lift kit, do as follows:
- Step 1: Choose a lift pad that suits the shape of your eyes. Try placing each lift pad on each eye, see which one fits your eye, then choose.
- Step 2: Use the glue in the lash lift kit. Take the glue bottle and apply glue to the lift pads to stick the pad under the eye area. Please apply it carefully and decisively; do not take it off and on many times because this glue is stickier than normal false eyelash glue. If you take it off and put it back on many times, it will cause the eye skin to stick together. After locating the silicone pad, remember to press it so that the pad position is firm and tight.

Choose a lift pad that suits the shape of your eyes
- Step 3: After applying the cushion to the eyelid, continue using the glue to apply another layer of glue to the cushion in the area closest to the eyelashes. Then take the eyelash brush in the kit to swipe those eyelashes onto the pad. Try to brush the eyelashes applied to the pad evenly without letting the eyelashes stick together or become skewed or crooked. Try to separate them straight to look natural.

Take the eyelash brush in the kit to swipe those eyelashes onto the pad
- Step 4: Use the perm liquid to help curl your eyelashes. Use a cotton swab, soak it in the solution, and then apply a sufficient amount evenly to your eyelashes. Then, use a small piece of plastic wrap to cover the eyelashes you are working on. Wait about 15–20 minutes. Be careful not to get it in your eyes; it will sting your eyes.
- Step 5: After 15-20 minutes, remove the wrapping film, use a cotton swab, and clean off the previously used eyelash curling solution. Next, use a cotton swab, take a sufficient amount of eyelash fixation, apply it evenly to the eyelashes, cover it with plastic wrap, and wait about 8–12 minutes.

Use a cotton swab to clean off the previously used eyelash curling solution
- Step 6: Continue using a cotton swab to wipe away the fixation you use, then take a cotton swab and apply a small amount of nutrition to soften and nourish the eyelashes.
- Step 7: Finally, use the cleanser to separate the eyelashes from the pad. Take an amount of cleaning solution with a cotton swab and apply it evenly to your eyelashes, then remove the pad from your eye. Use this solution to clean your eyelashes and eyelids again, and you’re done.

And you’re done
Things to do after curling eyelashes
Condition your eyelashes regularly every day
Enhance the beauty of your lashes with eyelash curling, which gives them a fuller and curvier look. But to keep your lashes healthy and glowing after the curling treatment, it’s crucial to take good care of them.

Condition your eyelashes regularly every day
After your lash lift, be kind to your lashes. Use a bit of collagen on the roots to nourish them and keep them strong. You can also use natural oils like coconut or argan oil every day to give your lashes some extra care. These simple steps will help your lashes stay gorgeous and healthy without worrying about any side effects from the curling process.
When sleeping, avoid lying on your stomach
After curling your eyelashes, you should avoid sleeping on your stomach because this position can destroy the shape of the eyelash structure. If you don’t want your eyelash curling process to go down the drain, you should limit this sleeping position.
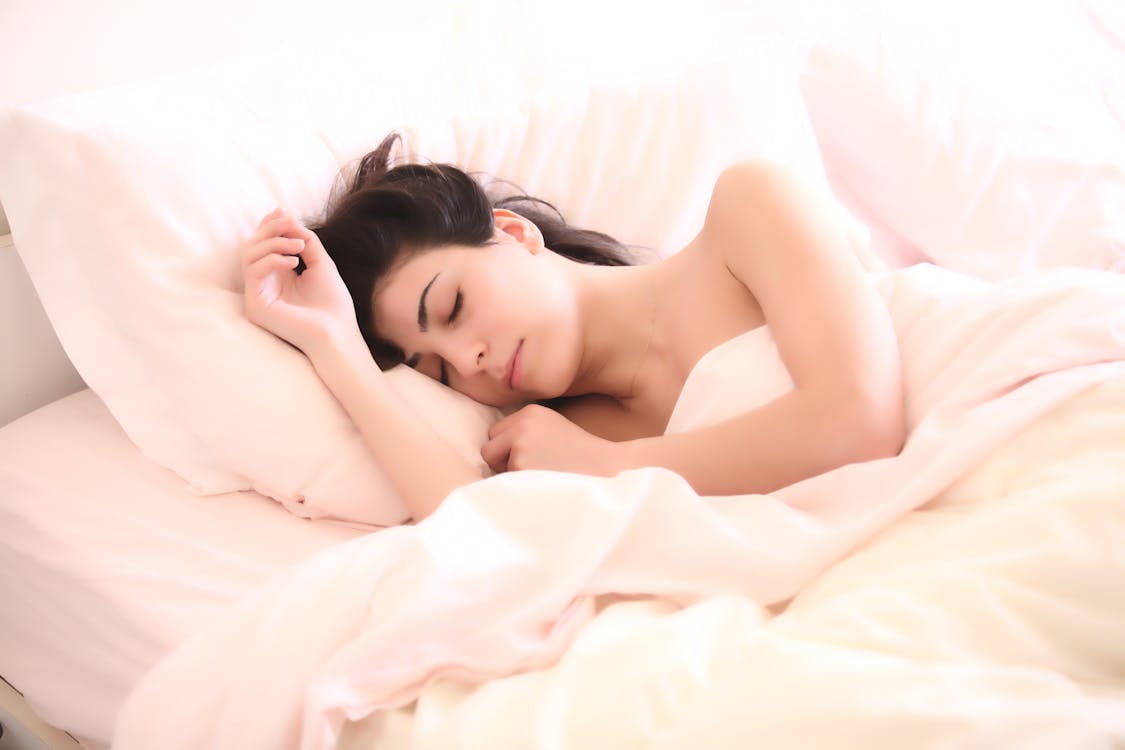
When sleeping, avoid lying on your stomach
Avoid regular mascara usage
Curling your eyelashes mainly helps you not waste time on eye makeup. Besides, if you use mascara, you need to remove makeup more thoroughly.
Remove makeup carefully
When removing eye makeup, you should be gentle because if there is strong friction, the eyelashes will lose their existing curl. You should only gently remove makeup from the eyelids and use a cotton pad to wipe the eyelash line. Then rinse your eyes with water.
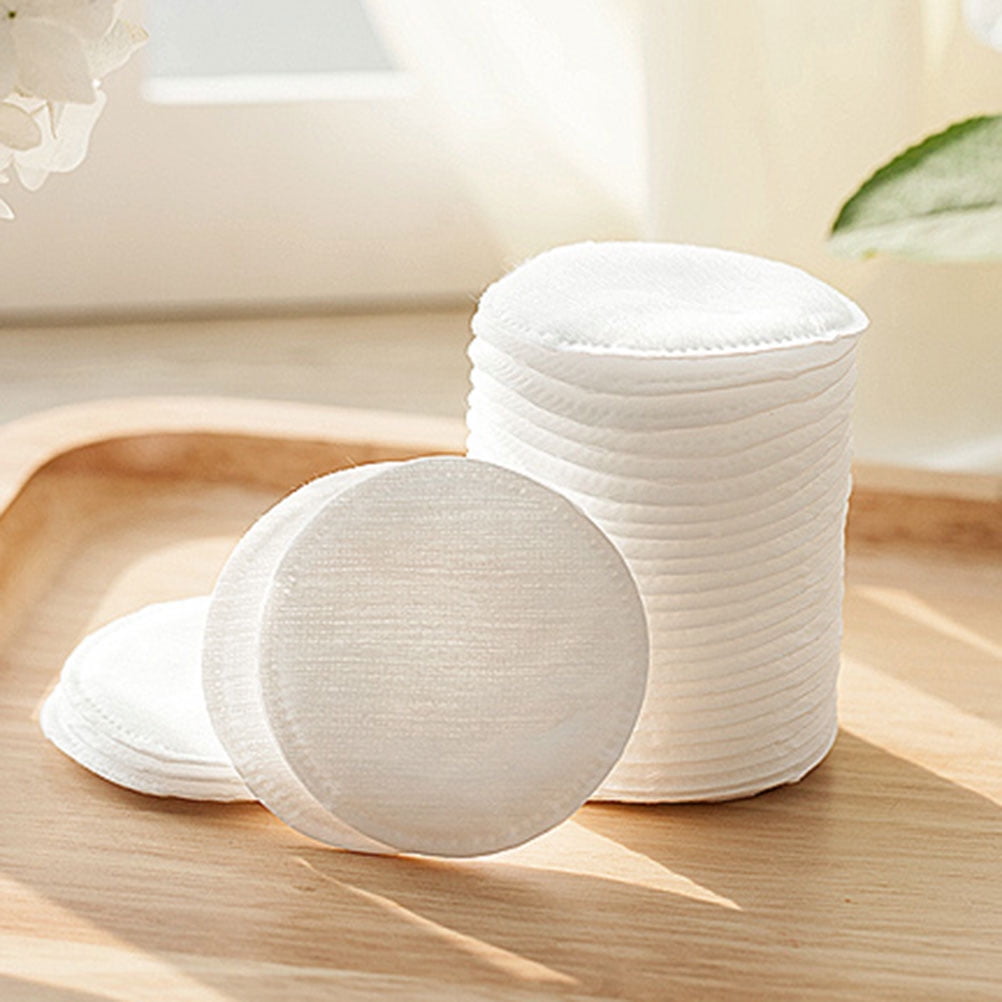
Remove makeup carefully
Maintain the habit of brushing your eyelashes
Sometimes, when I wake up, my curled eyelashes will be tangled or wet. You should use a specialised eyelash brush to brush your eyelashes every day to help them become smoother and more even. Avoid tangles that lead to breakage or loss of eyelashes.
Do not rub your eyes
Rubbing your eyes is one of the causes of eyelash loss, causing your eyelashes to drift. Because when your hands rub too hard against your eyes, it will break the structure of your eyelashes. Especially the eyelashes after curling will be weaker than normal.

Do not rub your eyes
Final thoughts
In summary, using the lash lift kit is not difficult, right? If you want to curl your eyelashes at home, you can follow the instructions above, and you can have beautiful eyelashes just like going to the salon.
Ready to elevate your lash game? Our premium lash lift kits await you at https://justserv.myshopify.com/products/lash-lift-kit. Transform your look effortlessly with our quality products, designed for beauty enthusiasts like you.
And don’t forget to unlock your beauty potential today! Subscribe to JustServ’s weekly newsletter and dive into a world of beauty expertise, tailored just for you. Explore more beauty tips and eyelash extension insights on our blog, and discover the secrets to radiant beauty.
Embrace your beauty journey with JustServ. Subscribe today and let your beauty shine!